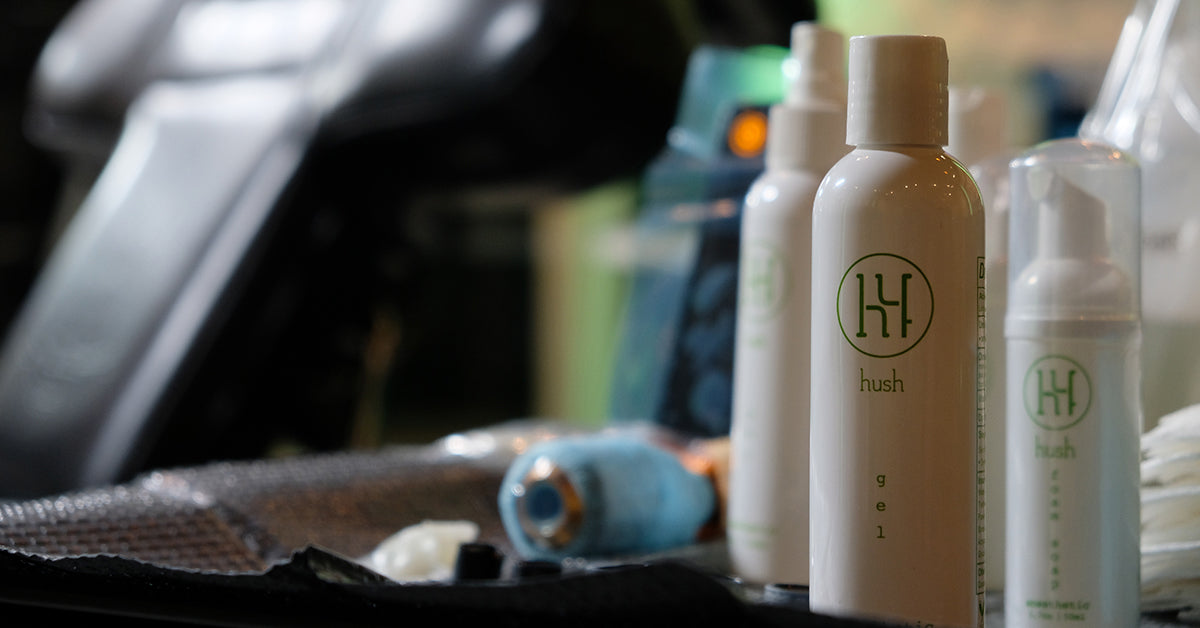
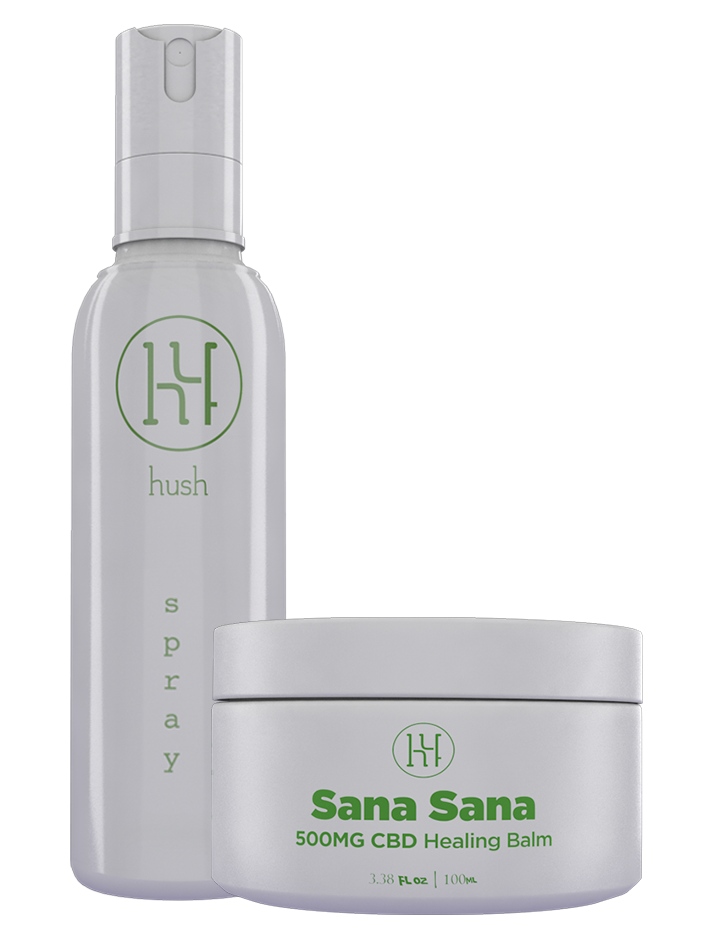
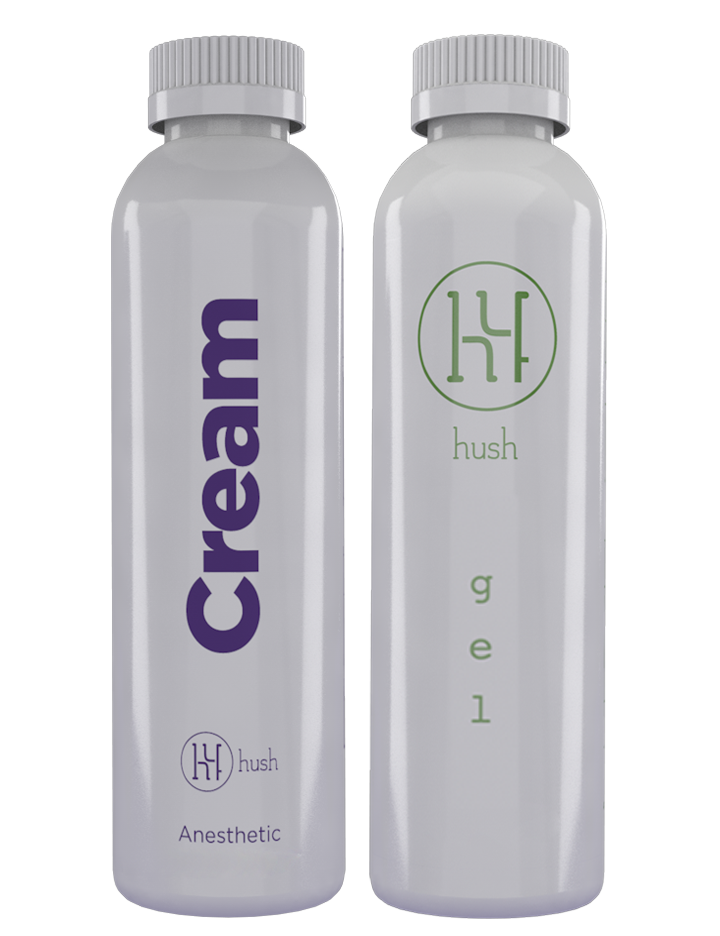
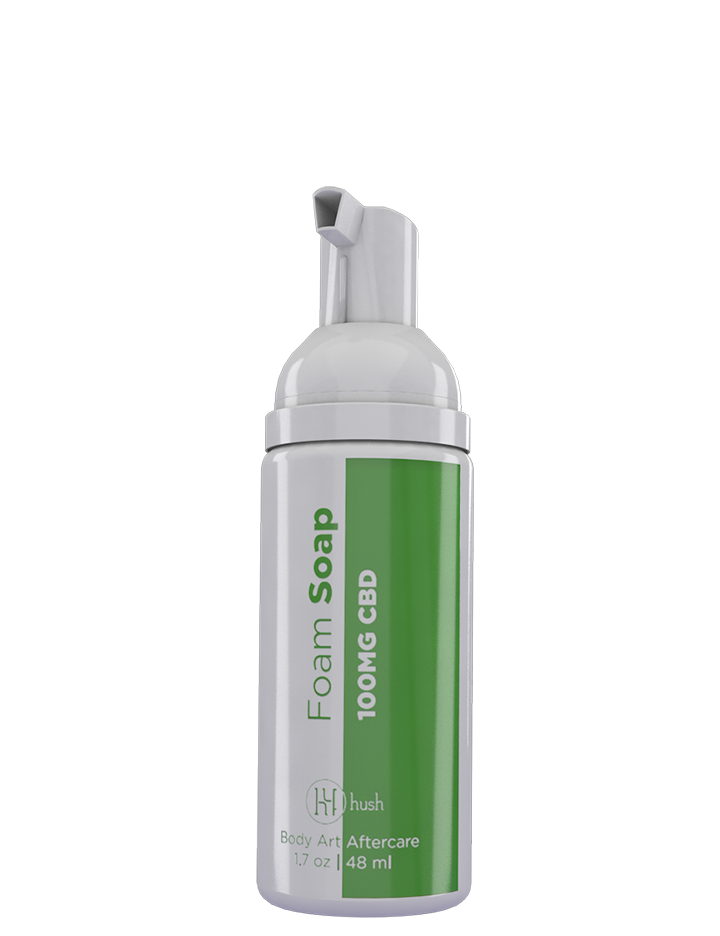
One of the most common questions we receive on social media is, "which product do you recommend the most?” Truth is, we really do recommend all three of our products! The gel, spray, and soap are great when used separately, but when used together they're like a well-oiled machine. This trifecta will work wonders during your tattoo session.

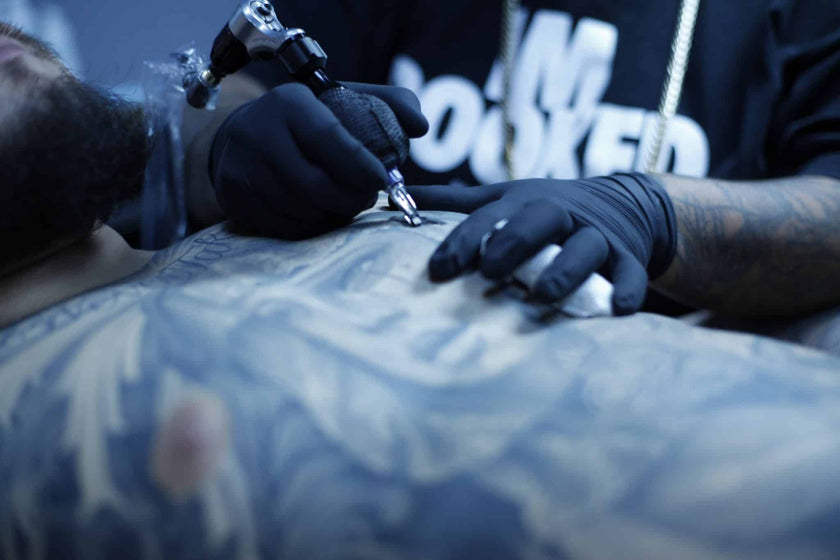
The following are our suggested steps to HUSH! I. GEL Our gel can be compared to a primer when painting, it is essentially the first step to a painless tattoo. HUSH gel is applied to the desired area prior to breaking the skin. For the best results we suggest using plastic wrap so the skin can absorb the gel in the span of an hour. Then remove the wrap and prep the skin for your session! II. FOAM SOAP In order to prep and clean the area we suggest using our most popular product, the HUSH foam soap, to cleanse the skin and protect your tattoo from discoloration. This cleanse will leave your skin as the perfect canvas for your tattoo artist to begin their work. III. SPRAY Once the skin has been broken into we recommend using HUSH spray. Our spray is safe to use after the skin has been penetrated and it will help prolong the numbing effects originally produced by the gel. Our spray alone can numb the area but the anesthetic effect will be most successful when these two are in unison. IV. FOAM SOAP PART DEUX Voila! You have a new tattoo and you want to make sure that momentary wound is kept as clean as possible. Our soap doubles as an aftercare soap and will keep the area disinfected to allow proper healing. Our products are a 3 piece unit. Individually they all have unique skills, but together they’re a true dream team.
